2022
Build Feature :
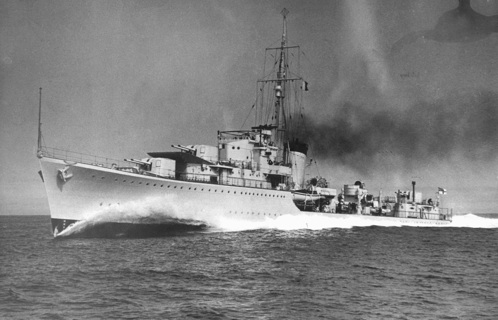
HMS KELLY by Ken Ireland
HMS Kelly was a WWII destroyer built as a class collectively known as “The Kelly’s “. There were three classes of this type, ‘J’, ‘K’ and’N’.
HMS Kelly was a flotilla leader ( 5th Destroyer Flotilla) hence the lack of displayed pennant number.
The build programme began in 1937 with HMS Kelly being built at Hawthorn Leslie yard in Hebburn on the Tyne. Launched 25th October 1938 ; commissioned 25th August 1939.
Displacement: 2,400t fully loaded
Length: 356ft
Beam: 35ft
Draught: 12ft
Propulsion: 2 x water tube boilers, steam turbine on 2 shafts, 40,000 ship
Speed: 32 knots loaded
Armament: 6 x 4.7” MkXII guns on 3 x twin mounts. 4 x “Pom Pom “ Mk.VII
Under the Command of Lord Mountbatten, she saw action off Norway, English Channel and finally off Crete. It was during this operation to evacuate Crete, she was bombed and sunk resulting in loss of half her crew on 23rd May 1941
For those interested in a comprehensive history of this class, there is an excellent book “The Kelly’s “ British J,K & N class destroyers of WWII written by Christopher Langtree.
Resources
Deans Marine :
Deans Marine main site: https://www.deansmarine.co.uk/
various dealers in the UK:
and many more.
Information:
about HMS KELLY (F01): https://en.wikipedia.org/wiki/HMS_Kelly_(F01)
and http://www.naval-history.net/xGM-Chrono-10DD-38K-Kelly.htm
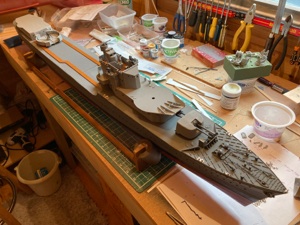
For Ken, this was a Lockdown project, based on a Deans Marine kit acquired form eBay. How many models do we see for sale, many bought with great enthusiasm then sold as the purchaser was overwhelmed by the task, or perhaps had misjudged the time required for a build. This is to the advantage of the keen modeller, of course, as they appear for sale at a reduced price.
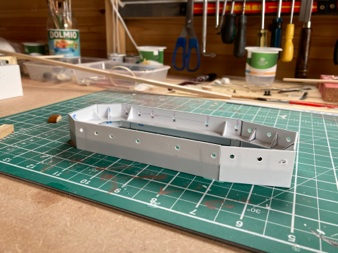
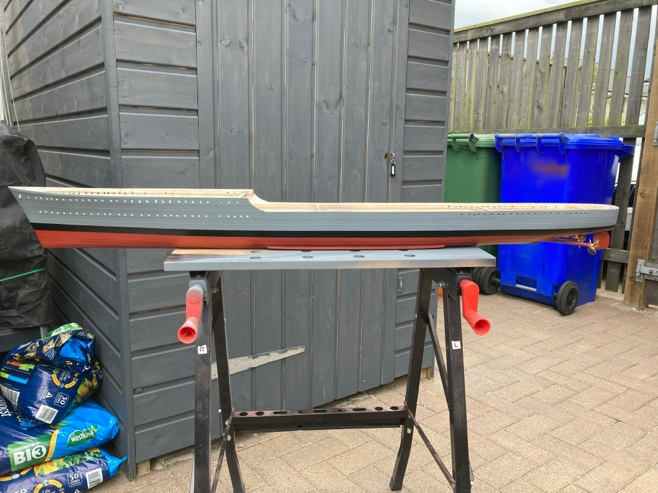
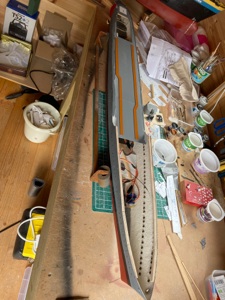
It’s nice to be able to work with a clean, fresh, moulded hull. This photo shows the overall clean lines of the vessel. This is not a project for complete beginners, though. Nor is the kit for the financially faint-hearted, as it costs around £340 new.
The hull is moulded and incorporates lots of detail of plating, porthole positions, etc, for an excellent scale rendition of the real thing.
The hull is to 1:96 scale, resulting in the model having length 1.13m, a beam of 114mm, and a sailing weight of a little over 3kg.

The moulded porthole positions make the task of positioning these quite easy.
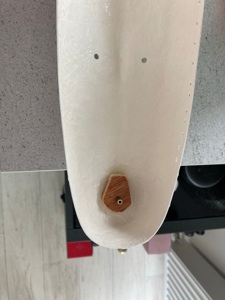
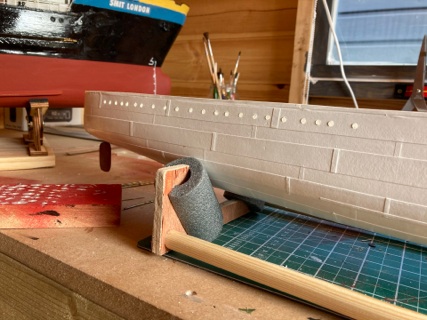
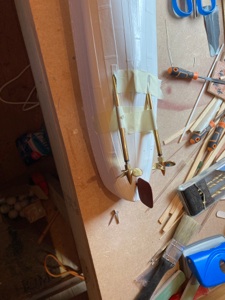
The left-hand photo shows the rudder tube, glued in place with additional support in the form of a block of wood.
The next task was to add the propeller tubes, shown here initially held in position using masking tape.
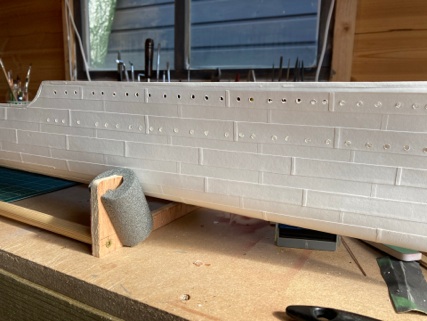
That’s just as well, for there are 86 portholes, each requiring pilot drilling at 3mm, followed by opening out with a 3.5mm drill to take a brass grommet as an insert. I count that as 258 operations. How do you spell “Repetitive Strain Injury?
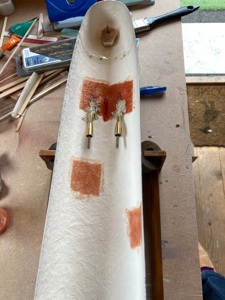
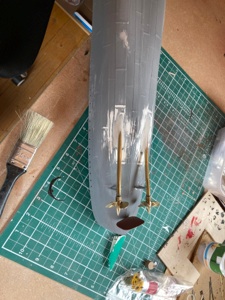
Left: Inside the hull, the tubes were held with car body filler. Right: On the outside of the hull, the prop tubes were faired neatly into the hull using more filler.
Two props with a single rudder, on a relatively long hull mean this model will not win the Steering Competition, but should sail well on a course with more gentle deviations.

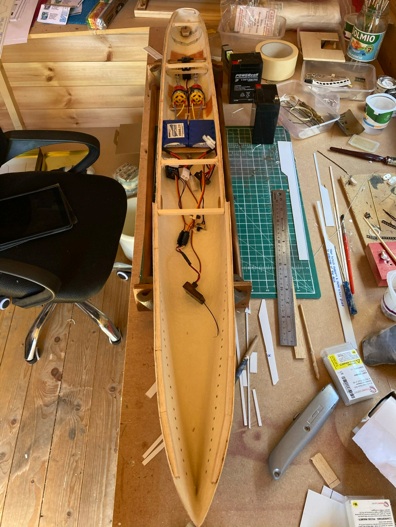
Left: Motor beds were next, with the motor couplings shown attached to the drive shafts.
The deck supports were added around the edges of the hull, and two additional supports across the hull, for strength.
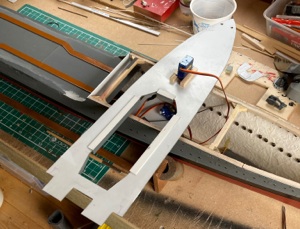
Right: The rudder arm was next, followed by the steering servo.
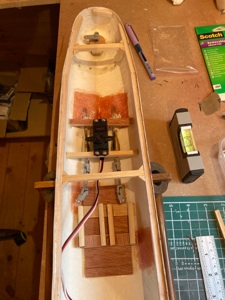
Left: The motors were mounted next, and the battery packs were added, along with the motor controller ESCs.
At this stage, the whole running gear was tested under power, as faults can more easily be rectified before the deck is added and access becomes more difficult.
Success at this stage always brings a feeling of progress and satisfaction. An optimist might find encouragement in thinking the hard work was all over....
Details of running gear:
Proshafts - Raboesch 301-02 M4 188mm self lubricating
Props - Brass 3 bladed 30mm
Steering servo - HS311 standard servo
Motors - Deans Marine Kyte 4.7 to 12v
Couplings - Nychrome 2.3mm/4mm
ESC’s - Viper Marine 10A/12V
Batteries - Overlander NiMH 2300mAh 6v
Rx - Planet 2.4 GHz 6 channel
Micro servos for forward gun turrets SG90 9g
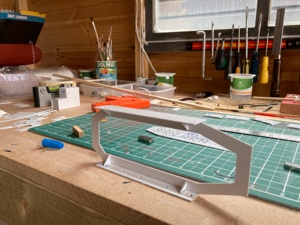
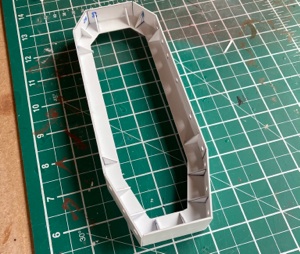
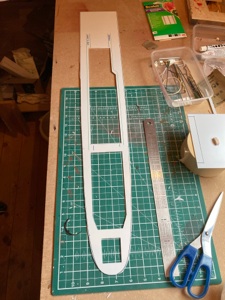
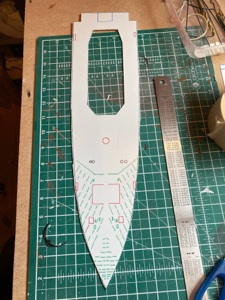
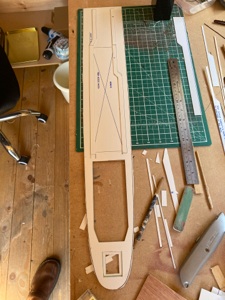
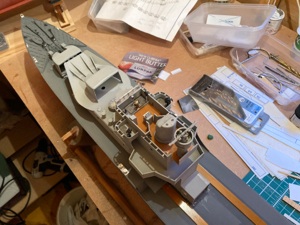
The superstructure came next, stage by stage.
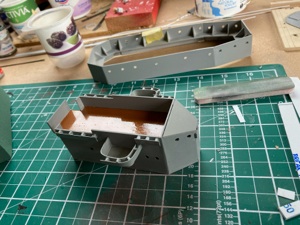
The Forward superstructure shows the use of a simple shape around which to form sides, with added reinforcement for strength. Superstructure can be fragile, so added gussets can prevent mishaps due to heavy handling at the pond, or perhaps heavy seas.
There are more portholes in this case, but we won’t keep count.
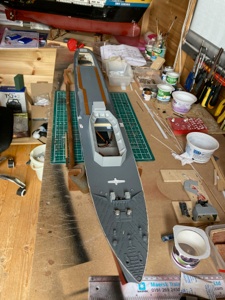
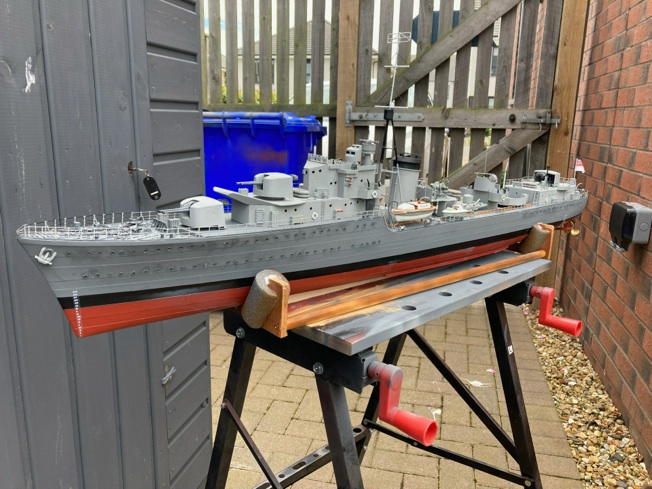
There’s a great sense of progress when the hull is painted.
Paints used were: Halfords satin black and red oxide; with Humbrol “Sea Grey 27” for the topside.
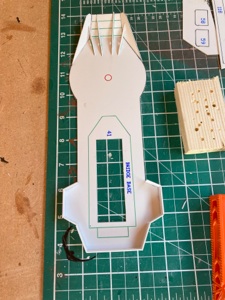
The main deck, with its cut-outs was next. The pre-printed cut lines are a real help in speeding things along. This feature also gives the impression that the kit manufacturer had given lots of thought about how to make construction straightforward. Gone are the days of a kit consisting of a plan and a few sheets of material (I hope).
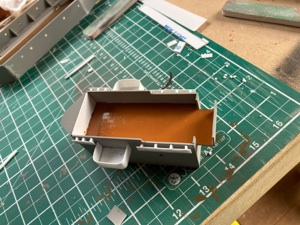
Left: The Forward Bridge Deck makes the same good use of pre-printed cut lines. Top right of the photo shows the small parts are clearly numbered for identification.
Right: The Fo’csle deck also shows the positions of some of the features to be added later.
Left: The main deck walkways were now painted - and checkout those grommetted portholes.
Right: The Fo’csle deck now sports fittings.
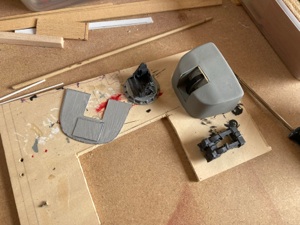
Left: A small servo was added beneath the deck, to rotate the forward gun turret. The servo arm is visible above deck in the Fo’csle photo (previous row: right hand photo).
Right: Parts for the gun turret were assembled, but painted before final assembly.
In general, sub-assemblies were painted during assembly. This allows easy access to parts within those assemblies which would otherwise be difficult or impossible to reach after full assembly.
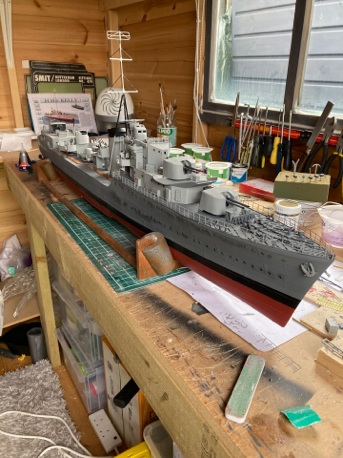
By this stage, it was a matter of adding more fine detail to really bring the model to life.
Adding the funnel and main deck items (below) brings the ship almost to completion.
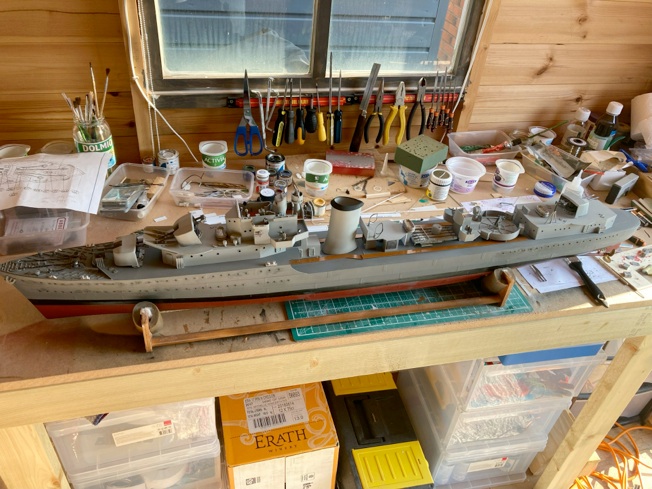
Left: Finally, the mast was added, with its rigging and communication aerials.
Below: Note the ship’s lifeboat and tender, with the flag nicely posed at the stern.